Exciting News: The First Cottage is Coming!
Hey there, fellow nature lovers and adventure seekers! 🌿 I’ve got some thrilling news to share about our little slice of paradise. We’re gearing up to build the first Cottage, and it’s going to be a fantastic addition to our farm experience!
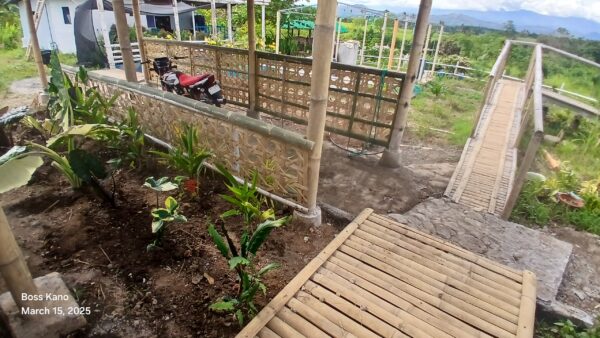
Location, Location, Location!
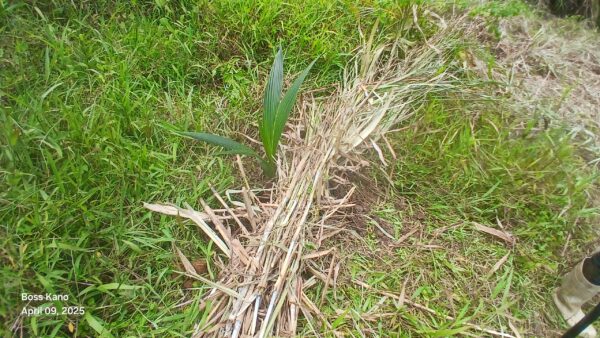
The first Cottage is nestled on the West Cliff , a perfect spot for relaxation and enjoying nature. But wait until you hear about the second one! This new A-Frame Bamboo Cottage cuddles under the Mango Tree of the White Lady. This place has a breathtaking views of the coconut trees swaying in the valley below. Indeed, imagine sipping your morning coffee while soaking in the stunning scenery!
A Cozy Retreat
This Cottage isn’t just about the views. In contrast, it’s designed for comfort and relaxation. Here’s what you can expect:
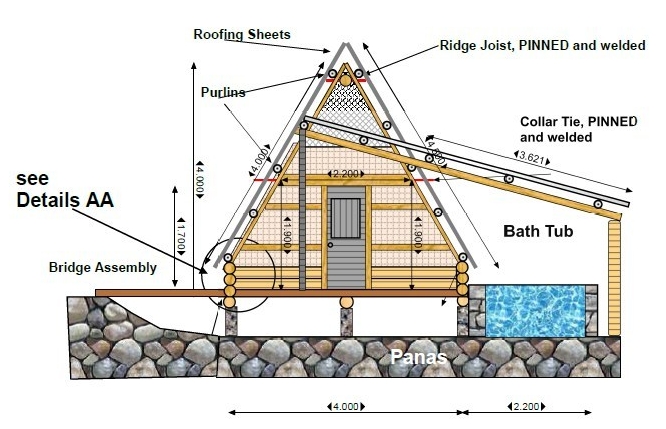
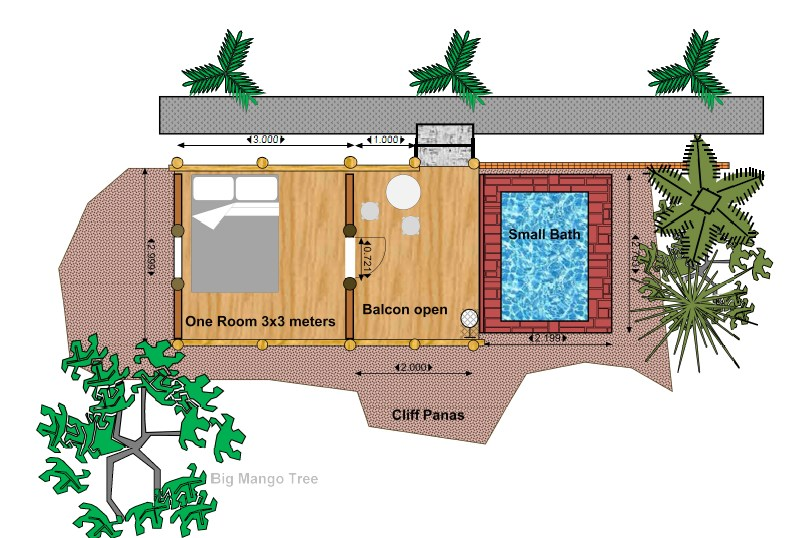
- Size: The Cottage will measure 4×4 meters, providing a cozy space for you to unwind.
- Patio: It will feature an 8 sqm patio (or Balcon) where you can lounge and soak up the sun.
- Soaking Bath: We’re adding a small soaking bath sourced by rainwater, perfect for those sunset moments. Picture yourself relaxing in the tub as the sky transforms into a canvas of colors!
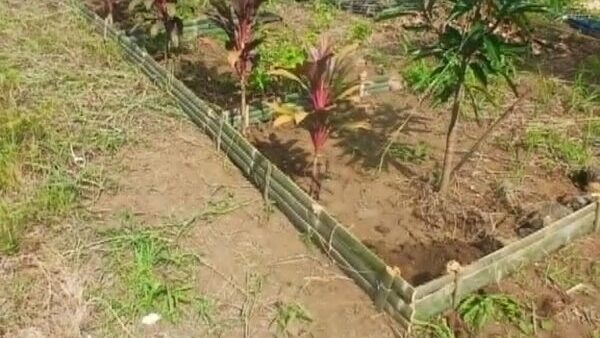
Nature’s Privacy Screen
In just a year, the surrounding trees will grow to create a beautiful privacy screen, making your stay even more intimate. You’ll feel like you’re in your own little world, away from the hustle and bustle. Plus, our friendly goats will be nearby, adding to the charm of the animal farm experience. It’s like a mini getaway where you can connect with nature and animals! It emphasizes Life in the Province.
Rain or Shine
Worried about the weather? Don’t be! The soaking tub and patio will be covered by a roof, allowing you to enjoy your retreat even when it’s raining. Whether it’s a sunny day or a cozy rainy afternoon, you’ll have the perfect spot to relax and recharge.
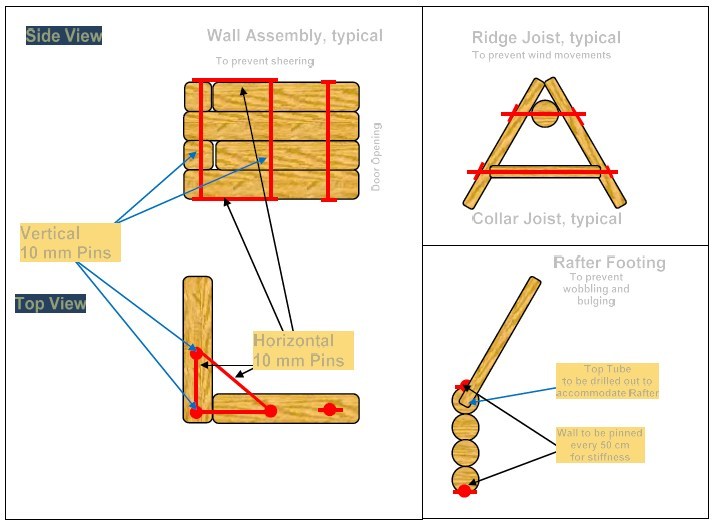
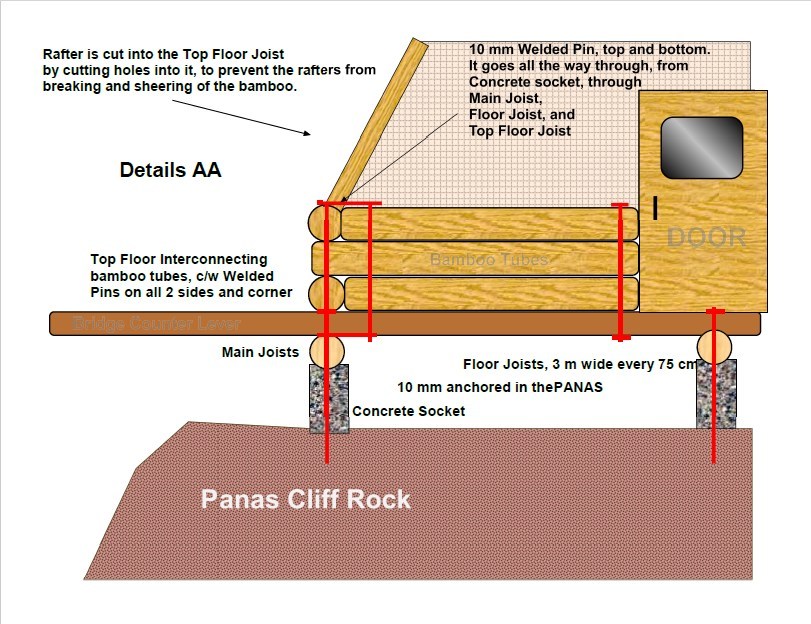
Details for Welding the Corners
All corners and also wall assemblies will be pinned and welded with 10 mm to prevent wind and sheer forces from moving elements. Here is how we do it.
Join Us on This Journey!
We’re super excited about this new Cottage and can’t wait to welcome you to this unique experience. It’s all about creating a space where you can escape, unwind, and enjoy the beauty of nature. So, keep an eye out for updates as we bring this vision to life!
What do you think? Are you excited to visit the new Cottage? Let me know your thoughts or any questions you might have! 🌅